There's nothing quite like relaxing in your own outdoor sauna after a long day. The heat melts away stress and tension, leaving you feeling rejuvenated. If you're considering adding this luxurious amenity to your backyard, I've got great news - building an outdoor sauna is easier than you might think!
I'll guide you through the process, from choosing the perfect location and gathering materials to constructing the sauna itself. Whether you opt for a pre-built kit or decide to build from scratch, I'll share tips and tricks to ensure your outdoor sauna is a success.
Planning Your Outdoor Sauna
Planning is the essential first step when building an outdoor sauna. Taking the time to consider your options and make informed decisions will ensure a successful and enjoyable sauna experience.
Choosing Between a Sauna Kit and Building from Scratch
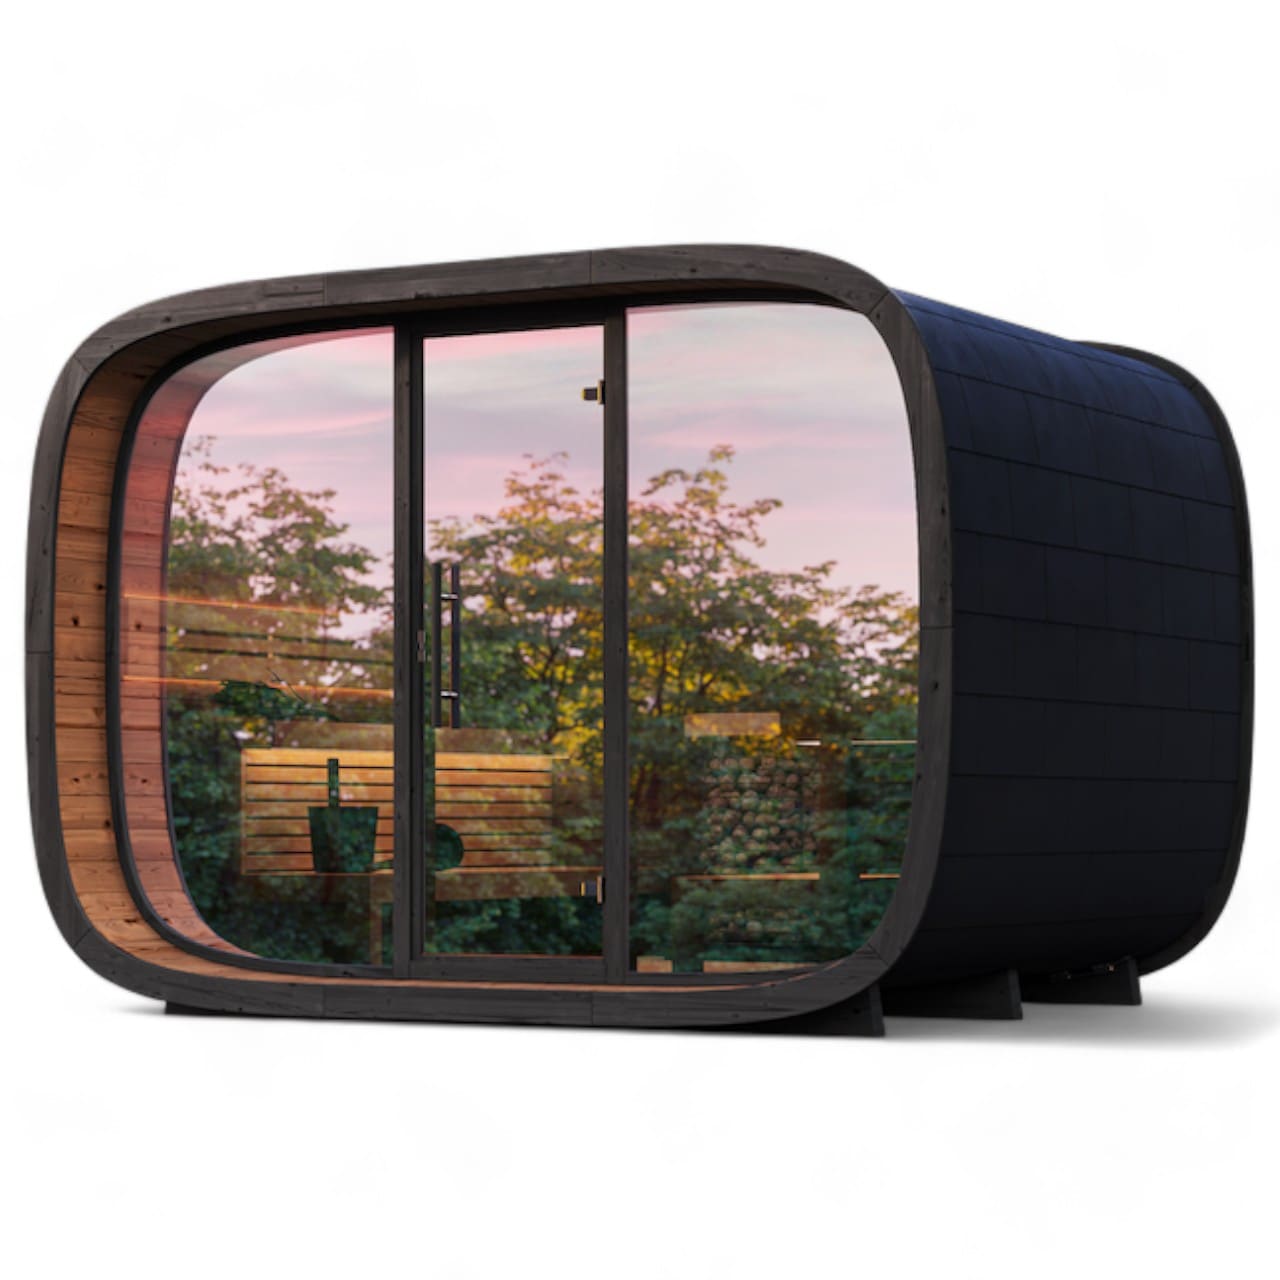
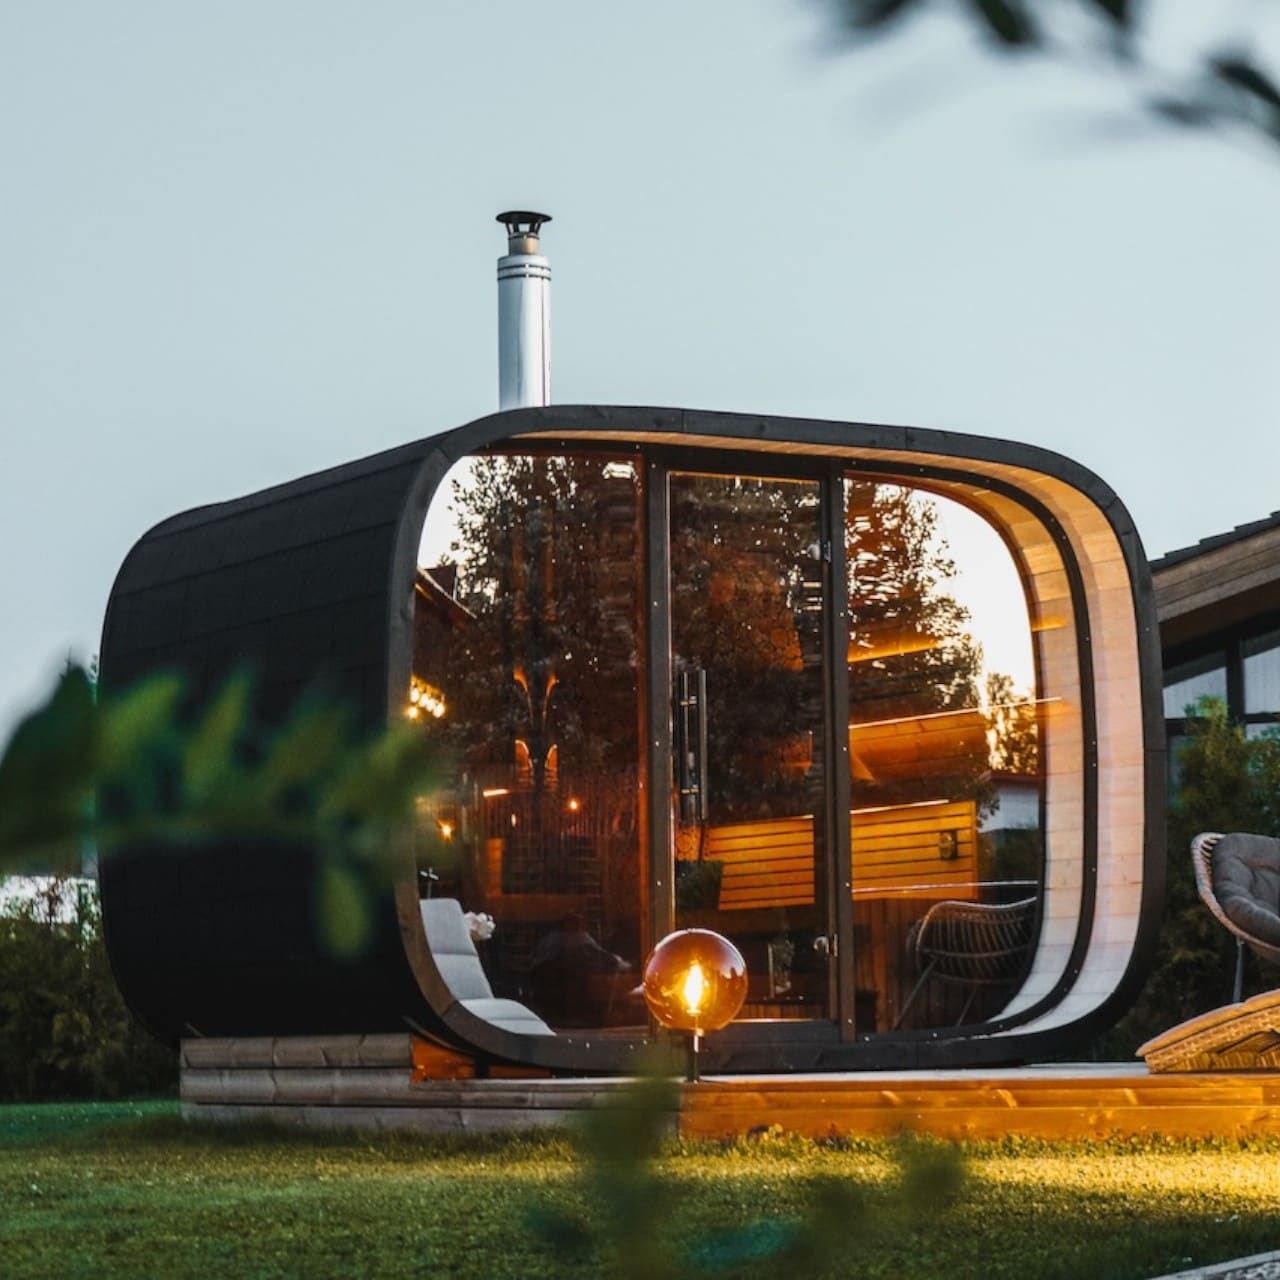
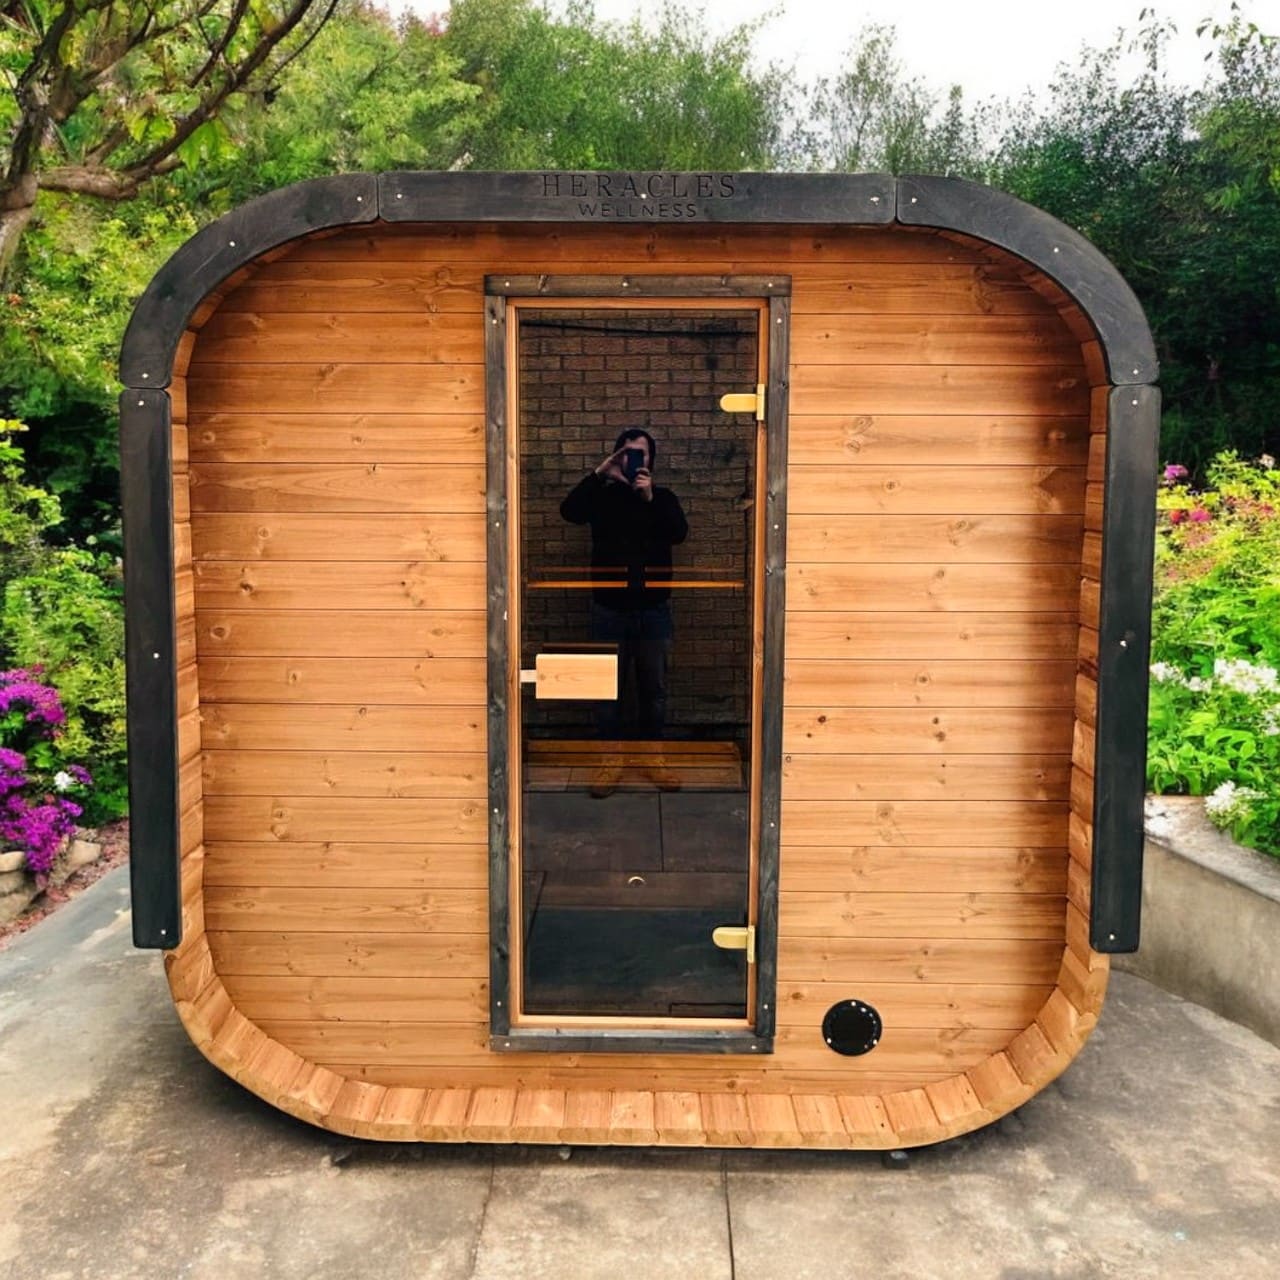
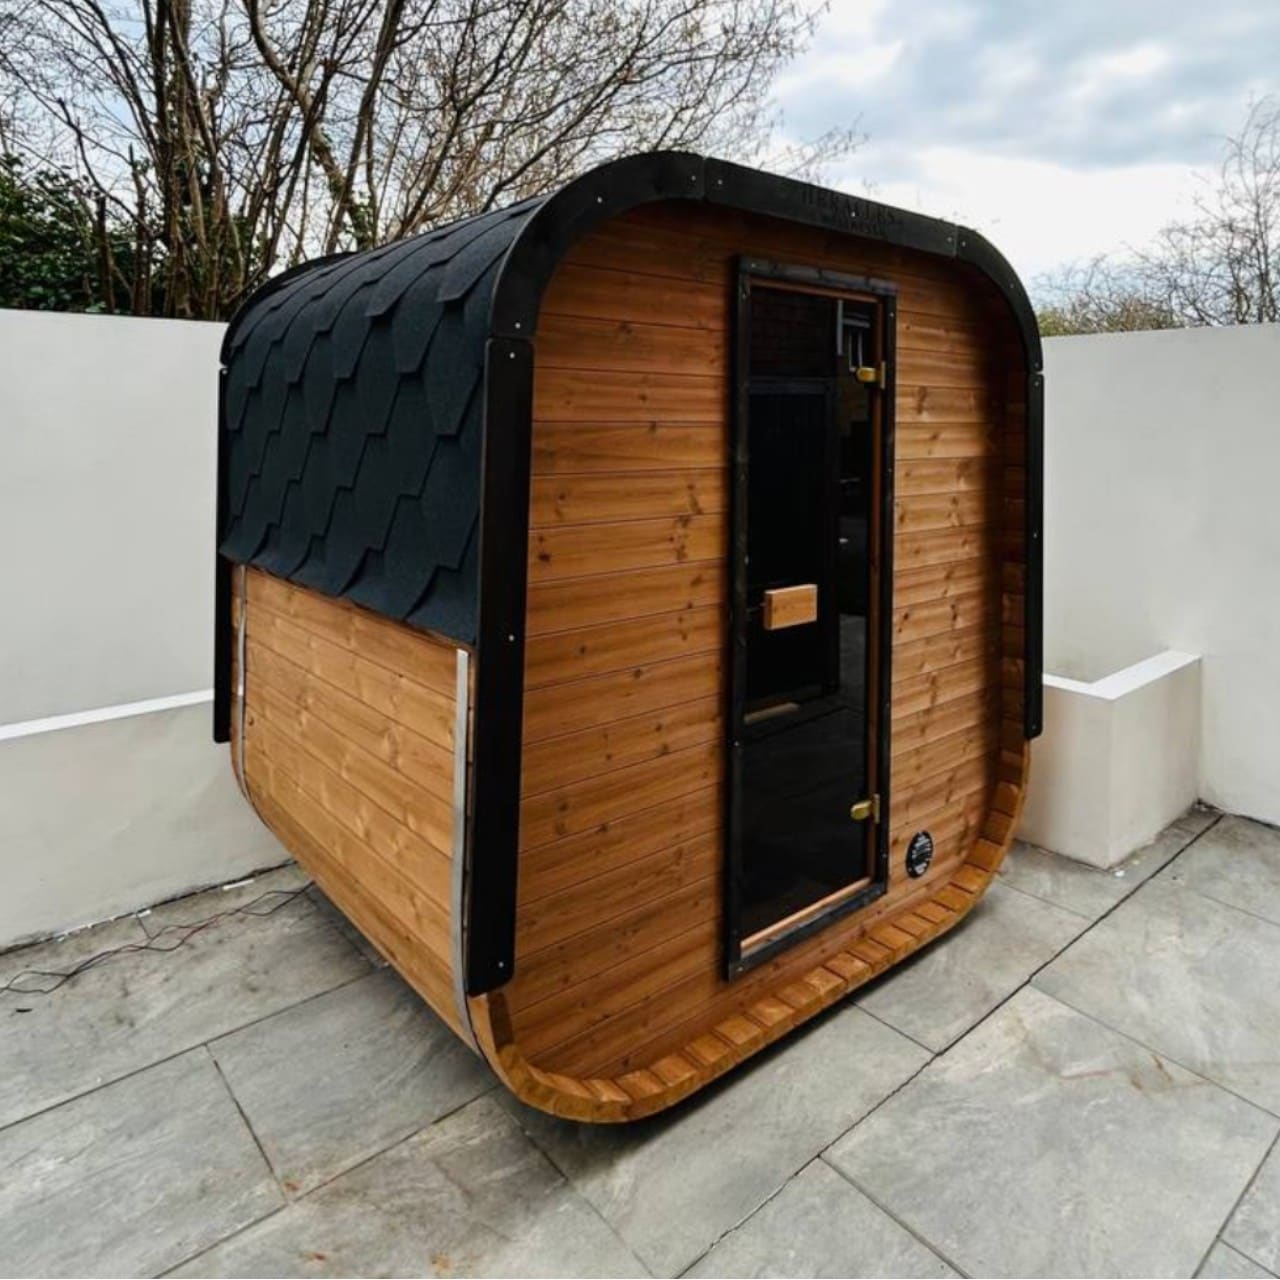
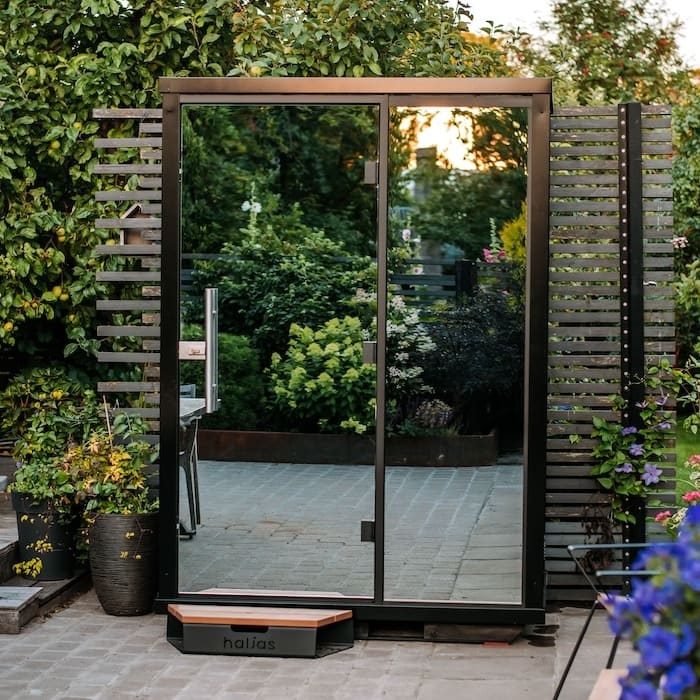
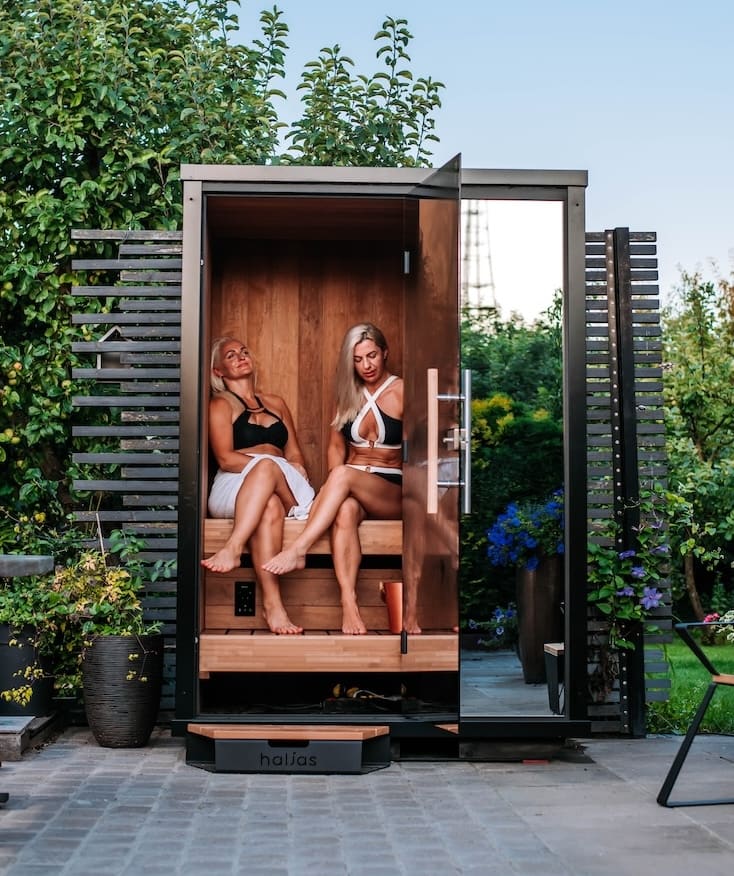
When it comes to building an outdoor sauna, you have two main options: purchasing a pre-made sauna kit or building from scratch. Sauna kits offer convenience and ease of assembly, with all the necessary components included. They range in price from around £2,000 to £7,000, depending on size and features.
On the other hand, building from scratch allows for greater customization and the ability to create a truly unique sauna space. This option requires more planning and effort but can be more cost-effective if you have the skills and resources. Looking for premium grade outdoor saunas?
Selecting the Right Location
The location of your outdoor sauna is crucial for both functionality and enjoyment. Consider factors such as privacy, accessibility, and proximity to your home or other structures. Ensure the chosen spot has a level, stable foundation and adequate drainage to prevent water damage.
Additionally, think about the view from your sauna. A scenic or natural setting can enhance the relaxation experience, so consider the surrounding landscape when selecting your location.
Determining the Size and Capacity

The size of your outdoor sauna will depend on your intended use and the number of people you want to accommodate. A 6' x 6' sauna is suitable for 2-4 people, while larger saunas can comfortably fit up to 8 or more. Keep in mind that larger saunas will require more materials, space, and heating capacity.
When planning the interior layout, consider the placement of benches, the heater, and the door. A typical layout has benches along the walls, with the heater opposite the door. Allow for adequate space to move around and stretch out comfortably.
Gathering Materials and Tools

Once you have a plan in place, it's time to gather the necessary materials and tools. For the structure, you'll need framing lumber, insulation, vapor barrier, and a weather-resistant exterior finish such as cedar. The interior will require heat-resistant materials like cedar or aspen for the walls and benches, as well as a suitable heater and accessories.
Essential tools include a saw, hammer, drill, level, and measuring tape. If you're building from scratch, you may also need concrete tools for the foundation and plumbing tools for installing a drain or water supply.
Laying the Foundation
Constructing a solid foundation is crucial for the stability and longevity of my outdoor sauna. I will explore the various foundation options, site preparation, and the building process to ensure a successful project.
Options for Sauna Foundations
When it comes to choosing a foundation for my outdoor sauna, I have several options:
- Concrete slab: A concrete foundation offers the most stability and durability. It is rot-resistant and can support the weight of the sauna structure. However, it is also the most expensive option and requires professional installation.
- Wood platform: A wooden foundation, such as a deck or platform, provides a sturdy base for the sauna. I can use pressure-treated lumber to resist moisture and decay. This option allows for easier installation and can be a more affordable alternative to concrete.
- Gravel bed: For a more rustic and budget-friendly approach, I can create a level gravel bed as the foundation. This involves excavating the area, laying down a weed barrier, and filling it with compacted gravel. While not as permanent as concrete or wood, a gravel foundation can still provide adequate support for my sauna.
We also have a luxury outdoor sauna collection for those who want the best of everything.
Preparing the Site
Before I begin building the foundation, I need to prepare the site:
- Choose a level location: I will select a flat and level area for my sauna foundation to ensure stability and proper drainage.
- Clear the area: Remove any vegetation, rocks, or debris from the chosen location to create a clean workspace.
- Mark the dimensions: Use stakes and string to outline the dimensions of the sauna foundation, ensuring it is square and level.
- Excavate the site: If necessary, I will excavate the area to a depth of 6-8 inches to accommodate the foundation materials.
Building the Foundation
Once the site is prepared, I can start building the foundation:
-
Concrete slab:
- Pour a 4-inch layer of gravel and compact it for drainage.
- Build a wooden frame around the perimeter to contain the concrete.
- Install reinforcement mesh or rebar for added strength.
- Pour the concrete and level it with a screed.
-
Allow the concrete to cure for at least 48 hours before proceeding.
-
Wood platform:
- Create a frame using pressure-treated lumber, ensuring it is level and square.
- Install deck blocks or concrete footings to support the frame.
- Secure the frame with galvanized fasteners to prevent corrosion.
-
Attach pressure-treated decking boards to the frame, leaving small gaps for drainage.
-
Gravel bed:
- Lay down a weed barrier to prevent vegetation growth.
- Pour a 4-inch layer of gravel and compact it using a plate compactor.
- Ensure the gravel bed is level and extends slightly beyond the sauna's dimensions.
- Optional: Place concrete pavers on the gravel bed for added stability.
By carefully selecting the foundation type, preparing the site, and following the appropriate building steps, I can create a solid base for my outdoor sauna. This foundation will provide the necessary support and longevity for my sauna to withstand the elements and regular use.
Framing and Construction

With the foundation prepared, it's time to begin framing and constructing the sauna structure. Follow these steps to build a sturdy sauna that will withstand the elements.
Building the Floor Frame and Decking
To construct the floor frame:
- Cut four pressure-treated 2x4s to create the outer frame according to the dimensions of your sauna floor. Use 3-inch deck screws to assemble the frame.
- Measure the inside of the outer frame and cut 2x4s for the inner frame. Include evenly-spaced support boards for added stability. Attach the inner frame to the outer frame, ensuring it sits 1-1/2 inches higher than the outer frame's top edge.
- Cut a piece of 3/4-inch plywood to fit the inner frame. Before attaching the plywood, insulate the spaces between the studs with 1-1/2-inch foam board insulation for improved heat retention.
- Secure the plywood floor to the frame using 2-inch exterior screws.
Constructing the Wall Frames
To frame the walls:
- Cut 2x4s and 2x2s for the front, back, and side walls according to the provided cut list. For the top plates of the front and back walls, rip a 15-degree angle down the center of a 2x4, saving the fall-off piece for the back wall's top plate.
- Assemble the wall frames using the cut lumber, ensuring the studs are evenly spaced and the top plates have the proper 15-degree angle.
- Stand the back wall on the floor base and secure it in place. Attach the side walls to the back wall using bar clamps and 4-inch structural screws, checking for squareness.
- Install the front wall and secure it to the side walls using the same method.
Installing the Roof Frame and Decking
For the roof frame:
- Measure the width of the sauna's interior and cut a 2x4 to that dimension. Rip the 2x4 in half at a 15-degree angle, creating two boards for the front and back of the roof frame.
- Clamp the angled boards to the top ridge of the front and back walls. Measure the distance between them and cut five 2x2 studs to that length for the roof frame.
- Assemble the roof frame using 3-inch deck screws, ensuring even spacing between the studs.
- Cut 3/4-inch plywood to fit the roof frame and attach it using 2-inch exterior screws.
- Install 1x4-inch cedar trim along the roof deck's edges using 2-inch galvanized finish nails.
- Apply an ice and water shield to the roof deck, starting at the bottom and overlapping by 3 inches as you move up the roof.
Adding Doors and Windows

To install the door and windows:
- Frame the doorway according to your sauna door's dimensions, ensuring it is plumb and level.
- Install the sauna door using heavy-duty hinges and a sturdy latch for a tight seal.
- If adding windows, frame the openings and install tempered glass windows designed for high-heat environments.
- Apply weatherstripping around the door and windows to prevent heat loss.
With the framing and construction complete, you're well on your way to enjoying your very own outdoor sauna. Now that we know how to build one, it would be nice to know how much an outdoor sauna costs.
Insulation and Moisture Protection
Proper insulation and moisture protection are crucial for maintaining the efficiency and longevity of an outdoor sauna. In this section, I will guide you through choosing the right insulation material, installing it effectively, and applying vapor barriers to prevent moisture damage.
Choosing the Right Insulation Material
The best insulation for an outdoor sauna is mineral wool, which offers superior performance and value compared to other materials. Mineral wool provides excellent thermal insulation, fire resistance, and sound absorption. It is also moisture-resistant, making it ideal for the humid environment of a sauna.
When selecting the thickness of the insulation, consider the thickness of your sauna walls. For standard 2x4 wall construction, use R-13 rated insulation for the walls and R-22 to R-26 for the ceiling. Other suitable options include fiberglass or eco-friendly alternatives like recycled denim insulation.
Installing Insulation in Walls, Floor, and Roof
To install insulation in the walls, measure the spaces between the studs and cut the insulation to fit snugly. Use a utility knife or table saw to make precise cuts, ensuring a tight friction fit. For the side walls, cut the top of each piece at an angle to accommodate the slope of the roof.
For the floor, install insulation between the joists, ensuring it is flush with the bottom of the joists. Cut the insulation to fit around any obstructions, such as plumbing or electrical lines.
When insulating the roof, place the insulation between the rafters, with the vapor barrier facing down towards the interior of the sauna. Cut the insulation to fit tightly, and use insulation supports or wire mesh to keep it in place.
Applying Vapor Barriers
After installing the insulation, apply a vapor barrier to prevent moisture from penetrating the walls and causing damage. For sauna use, an aluminum foil vapor barrier with a paper backing is recommended, as it can withstand high temperatures without melting or off-gassing.
Cut and attach the vapor barrier to the interior of all walls, ceiling, and floor using a staple gun. Ensure that the barrier is tight and free of wrinkles or gaps. Seal all edges and seams with foil tape to create a continuous barrier.
When installing the vapor barrier, overlap the seams by at least 2 inches and seal them with foil tape. Pay special attention to corners, edges, and penetrations, such as electrical outlets or light fixtures, to ensure a tight seal.
By choosing the right insulation material, installing it properly, and applying a vapor barrier, you will create a well-insulated and moisture-protected outdoor sauna that will provide years of enjoyment and relaxation.
Interior Finishes
With the structure, insulation, and moisture protection in place, it's time to focus on the interior finishes that will transform the space into a luxurious and inviting sauna retreat.
Installing Wall and Ceiling Paneling
Before installing the cedar shiplap, ensure there's a 1/4-inch vapor gap between the vapor barrier and the shiplap to allow moisture to evaporate. Cut and attach 1/4-inch x 1-1/2-inch wood strips onto each stud along the full length of all four walls.
For the side walls, start the first row of shiplap 2-1/4 inches from the bottom and 1/2-inch from each side. Attach the cedar shiplap to each stud using 1-1/4-inch nails. When reaching the top of the wall, let the shiplap hang over the angle, then trim off the excess using a router with a trim bit.
For the front and back walls, follow the same process, starting the first row of shiplap 2-1/4 inches from the bottom and 1/2-inch from each side.
Building Sauna Benches
A sauna typically features two benches: an upper bench about 30 inches from the floor and a cooldown bench no more than 18 inches from the floor. These benches are designed as a 2x4 cedar frame with 1x6 cedar decking attached to nailing cleats set inside the frames.
|
KEY |
QTY |
PART |
DIMENSIONS
|
|
A |
4 |
Front & back frame boards |
1-1/2 x 3-1/2 x 56 |
|
B |
2 |
Upper bench frame sides |
1-1/2 x 3-1/2 x 12 |
|
C |
5 |
Nailing cleats |
1-1/2 x 1-1/2 x 53 |
|
D |
2 |
Lower bench frame sides |
1-1/2 x 3-1/2 x 23 |
|
E |
2 |
Upper bench decking |
1 x 5-1/2 x 12 |
|
F |
5 |
Lower bench decking |
1 x 5-1/2 x 23 |
Measure the width of the sauna interior and create a cut list. Cut all the boards to length, assemble the frames, and attach the nailing cleats. Place the deck boards on the nailing cleats between the front and back boards with a 1/2-inch gap between each board. Attach the deck boards with #8 x 2-inch finish screws.
Attach the benches level to the back and side walls using 5/16 x 4-inch structural screws through the cedar shiplap into the bracing inside the walls.
Adding Interior Lighting and Accessories
Incorporate ambient lighting to create a soothing atmosphere in the sauna. Install recessed LED lights in the ceiling, ensuring they are rated for high-temperature environments. Position the lights strategically to provide even illumination without glare.
Select and install a high-quality sauna heater based on the size of your sauna and preferred heating method (electric, wood-burning, or infrared). Follow the manufacturer's instructions for proper installation and safety precautions. Learn the differences between infrared sauna and traditional saunas.
Enhance the sauna experience with essential accessories such as a thermometer and hygrometer to monitor temperature and humidity levels, a sand timer to track sauna sessions, and a bucket and ladle for adding water to the rocks to generate steam.
Finally, add personal touches like comfortable towels, aromatic essential oils, and soothing decor elements to create an inviting and relaxing sauna environment tailored to your preferences.
Sauna Heating System
Selecting the right heating system is crucial for creating the perfect sauna experience. In this section, I will guide you through the process of choosing between electric and wood-burning heaters, installing the heater safely, and ensuring proper venting and chimney installation.
Choosing Between Electric and Wood-Burning Heaters
When deciding on a heating system for your outdoor sauna, you have two main options: electric heaters and wood-burning stoves. Here are the key factors to consider:
- Power Source: Electric heaters require a reliable electrical connection, while wood-burning stoves rely on a supply of firewood. Consider the availability and convenience of each option based on your sauna's location.
- Heating Efficiency: Electric heaters heat up quickly and maintain a consistent temperature with minimal effort. Wood-burning stoves take longer to heat up but provide a more traditional and authentic sauna experience.
- Maintenance: Electric heaters are low-maintenance, requiring only occasional cleaning. Wood-burning stoves require regular stoking, ash removal, and chimney cleaning.
- Ambience: Wood-burning stoves offer a rustic charm and the pleasant aroma of burning wood. Electric heaters provide a more modern and streamlined look.
Ultimately, the choice between electric and wood-burning heaters depends on your personal preferences, available resources, and the desired atmosphere in your outdoor sauna.
Installing the Heater and Safety Features
Once you have chosen your heater, it's essential to install it correctly and incorporate necessary safety features:
- Positioning: Place the heater in a central location, away from flammable materials and in accordance with the manufacturer's guidelines. Ensure sufficient clearance for heat dissipation and user safety.
- Mounting: Securely mount the heater on a stable, heat-resistant base. For electric heaters, follow the wiring instructions carefully and hire a licensed electrician if necessary.
- Safety Barriers: Install heat-resistant barriers around the heater to prevent accidental contact. Use a protective guard or fence to keep a safe distance between the heater and sauna users.
- Temperature Control: Incorporate a thermostat or temperature control system to regulate the sauna's heat. Set the maximum temperature to a safe level, typically between 80°C and 100°C (176°F to 212°F).
-
Emergency Shut-Off: For electric heaters, install an emergency shut-off switch near the sauna door for quick and easy access in case of an emergency.
By following these installation guidelines and prioritizing safety features, you can ensure that your outdoor sauna is both enjoyable and secure.
Venting and Chimney Installation
Proper venting and chimney installation are crucial for wood-burning sauna heaters to ensure efficient heat distribution and prevent smoke buildup. Follow these steps:
- Chimney Placement: Determine the optimal location for the chimney, considering factors such as roof pitch, proximity to combustible materials, and local building codes.
- Chimney Type: Choose a chimney system suitable for high temperatures, such as a double-wall insulated chimney. Ensure the chimney diameter matches the heater's outlet.
- Chimney Installation: Install the chimney according to the manufacturer's instructions, maintaining proper clearances and using heat-resistant materials for the roof penetration.
- Flashing and Sealing: Use appropriate flashing and sealants to prevent leaks and ensure a weathertight installation where the chimney penetrates the roof.
-
Venting: Install a vent pipe from the heater to the chimney, using heat-resistant connectors and ensuring a secure fit. Maintain proper slopes and avoid sharp bends to promote efficient airflow.
Regular Maintenance: Schedule regular chimney inspections and cleanings to remove creosote buildup and ensure optimal performance.
By carefully planning and executing the venting and chimney installation, you can enjoy a safe and efficient wood-burning sauna experience in your outdoor retreat.
Exterior Finishing
With the structure of my outdoor sauna complete, it's time to focus on the exterior finishing touches that will not only enhance its appearance but also protect it from the elements.
Applying Weatherproofing and Siding
I begin by applying a high-quality exterior weatherproofing sealant to all exposed surfaces of the sauna, paying extra attention to joints, seams, and any areas where moisture could potentially penetrate. This crucial step helps prevent water damage, rot, and decay, ensuring the longevity of my sauna.
Next, I attach the T1-11 plywood siding to the front and back walls, following the same process as the side walls. The only difference is that after squaring the siding with the wall frame, I draw a line on the underside of the siding along the top board and cut a 15-degree angle along the line. This angled cut allows the siding to fit snugly against the roof decking.
When attaching the siding, I let it hang over 2-1/4 inches on both sides of the walls. Since the side walls are 5 feet wide, I fill in the remainder of the siding, making sure to maintain the 2-1/4 inch overhang on the other edge. Once the siding is securely fastened to the frame, I use a router with a flush trim bit to precisely cut out the door opening on the front wall.
Adding Trim and Finishing Touches
To give my sauna a polished and cohesive look, I attach 1x4 inch cedar trim to the four exterior corners using 8 x 2 inch finish screws. This allows for easy removal when disassembling the sauna for transportation. I also add trim around the exterior of the door for a clean, finished appearance.
As a final touch, I consider adding exterior lighting fixtures near the entrance to create a welcoming ambiance and improve visibility during evening sauna sessions. I ensure that any electrical components are rated for outdoor use and properly installed according to local building codes.
With the exterior finishing complete, my outdoor sauna is now ready to withstand the elements and provide a beautiful, inviting space for relaxation and rejuvenation.
Final Steps and Enjoying Your Sauna
With the sauna construction nearing completion, it's time to focus on the final steps to ensure everything functions properly. Testing the sauna and making any necessary adjustments will guarantee a seamless and rejuvenating experience for years to come.
Testing and Troubleshooting
Before inviting friends over for a relaxing sauna session, I always conduct a thorough test run. Start by turning on the heater and monitoring the temperature rise. The sauna should reach the desired temperature range of 150-190°F (65-88°C) within 30-60 minutes, depending on the heater's power and sauna size.
Check for any air leaks around the door and windows, ensuring a tight seal to maintain heat. If cold spots are detected, apply additional weatherstripping or adjust the door hinges for a snug fit. Verify that the ventilation system is working correctly, allowing fresh air to circulate without compromising the sauna's temperature.
Test the lighting, ensuring that it creates the desired ambiance and provides sufficient illumination for safety. Finally, sit in the sauna for a short session to assess the overall comfort, making any necessary adjustments to the benches or heater placement for optimal enjoyment.
Proper Sauna Usage and Maintenance
To maximize the sauna's longevity and ensure a pleasant experience, follow these usage and maintenance tips:
- Always preheat the sauna for 30-60 minutes before use
- Place a towel on the bench to sit on for hygiene and comfort
- Limit sauna sessions to 15-20 minutes at a time, taking breaks to cool off
- Stay hydrated by drinking water before, during, and after sauna use
- Allow the sauna to cool down completely before closing the door
- Regularly clean the sauna interior with a mild detergent and soft cloth
- Sand the benches annually to maintain a smooth, splinter-free surface
- Inspect the heater, controls, and wiring periodically for signs of wear
- Treat the exterior siding with a weatherproofing sealant every 2-3 years
By following these guidelines, you'll ensure that your outdoor sauna remains in top condition, providing years of relaxation and enjoyment.
Health Benefits and Safety Precautions
Regular sauna use offers numerous health benefits, including:
- Improved cardiovascular health
- Reduced stress and anxiety
- Relief from muscle soreness and joint pain
- Enhanced skin health and cleansing
- Improved sleep quality
- Boosted immune system
However, it's crucial to take safety precautions to prevent any adverse effects:
- Consult with a doctor before sauna use if you have any pre-existing health conditions
- Avoid alcohol consumption before or during sauna sessions
- Limit exposure to 15-20 minutes per session, especially for beginners
- Exit the sauna immediately if you feel dizzy, lightheaded, or uncomfortable
- Supervise children and the elderly closely during sauna use
- Ensure proper ventilation to prevent carbon monoxide buildup when using a wood-burning heater
By embracing these health benefits and prioritizing safety, you'll be able to fully enjoy the rejuvenating effects of your outdoor sauna, creating a personal oasis of relaxation and well-being right in your own backyard.
Conclusion
Building my own outdoor sauna has been an incredibly rewarding experience. It's allowed me to create a personal oasis of relaxation and well-being right in my own backyard. By carefully planning, selecting the right materials, and following the step-by-step construction process, I've built a beautiful and functional sauna that I can enjoy for years to come.
Throughout this journey, I've learned the importance of proper insulation, moisture protection, and ventilation to ensure my sauna's efficiency and longevity. I've also discovered the joy of customizing my sauna with personal touches, from the luxurious cedar paneling to the soothing ambient lighting.
Now that my outdoor sauna is complete, I'm excited to incorporate it into my wellness routine. Regular sauna use offers numerous health benefits, from improving cardiovascular health to reducing stress. By following the usage and maintenance tips I've outlined, I'll be able to maximize my sauna's lifespan and fully enjoy its rejuvenating effects.
If you're considering building your own outdoor sauna, I encourage you to embrace the process and create a space that truly reflects your personal style and needs. With dedication and attention to detail, you too can experience the unparalleled relaxation and satisfaction that comes with crafting your very own backyard retreat.
Q: What materials do I need to build a sauna?
A: To build your own sauna, you will need materials such as wood (like cedar or redwood), insulation (like styrofoam), a sauna stove, concrete for the foundation, and various hardware items. Make sure it’s suitable for high humidity and heat conditions.
Q: How do I create a sauna plan?
A: Creating a sauna plan involves deciding on the layout and dimensions of your sauna. Consider factors like the size of your backyard, the number of people using it, and the location for the heat source. You can find many comprehensive guides online to help with this process.
Q: What is the best heat source for a DIY outdoor sauna?
A: The best heat source for a DIY outdoor sauna is typically a sauna stove, which can be electric or wood-burning. The choice depends on your preference and availability. A good sauna stove will ensure effective heating and a pleasant sauna experience.
Q: How important is ventilation in my outdoor sauna?
A: Ventilation is crucial when building your own sauna. Proper ventilation helps to maintain air quality, control moisture levels, and regulate temperature. It’s really important to include vents in your sauna layout to ensure a comfortable experience.
Q: Can I build a sauna from scratch, or do I need a kit?
A: You can build a sauna from scratch if you have the necessary skills and knowledge. However, many people find it easier to use a sauna kit. Kits often come with a transcript of instructions and all the materials needed, simplifying the process.
Q: What are some things to consider before starting my sauna building project?
A: Before embarking on your outdoor sauna build, consider the size, location, building permits, materials, and your budget. Also, think about the type of sauna you want, such as a Finnish sauna, and ensure you have a good plan in place.
Q: How do I prepare the location for my sauna?
A: To prepare the location for your sauna, you will need to dig and create a level foundation, often using concrete blocks or a concrete slab. Make sure it’s situated in a spot that offers privacy and is not too far from your home for convenience.
Q: What type of wood is best for building an outdoor sauna?
A: The best types of wood for building a sauna are typically cedar or redwood due to their natural resistance to moisture and decay. These woods also provide a pleasant aroma and aesthetic appeal, making your sauna a cosy retreat.
Q: How can I enhance the ambiance of my DIY outdoor sauna?
A: You can enhance the ambiance of your DIY outdoor sauna by adding features like LED strip lighting, comfortable seating, and decorative elements that reflect your style. Consider using repurposed materials for a unique touch as well.








Leave a comment